Here at FitMyCar, we have templates for most cars you’ll see on the road today. This means the majority of new cars, as well as a huge selection of popular cars sold in Australia from the 80’s onwards. While we still cover a few of the classic and more unique vehicles, there are unfortunately some more obscure models we haven’t gotten around to yet. If we don’t list mats for your car on our website, don’t stress because we will most likely be able to custom make a set for you.
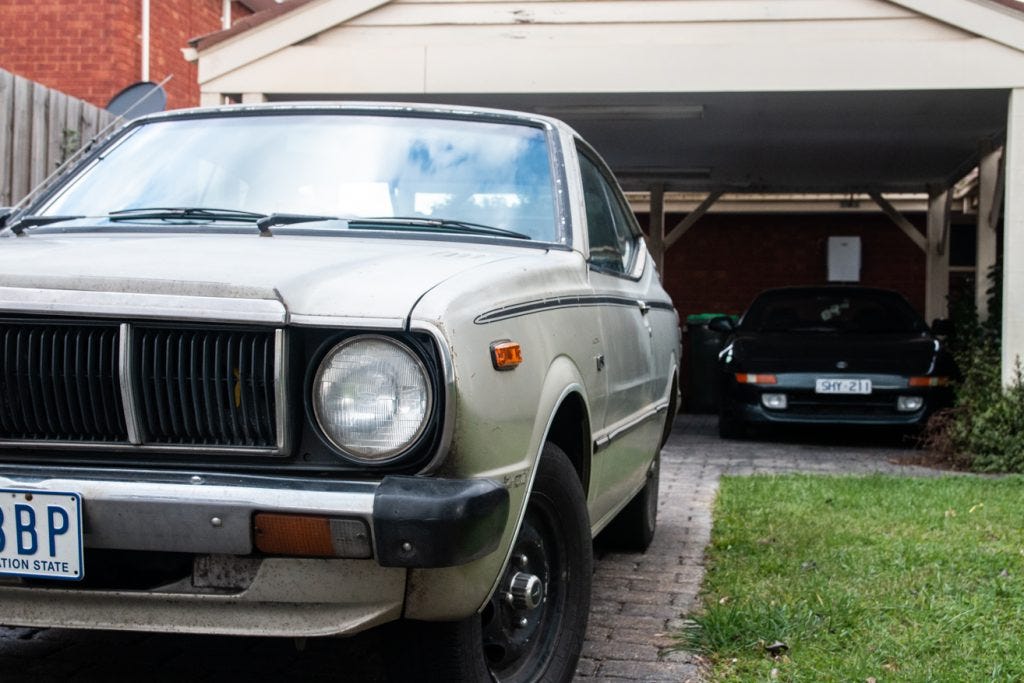
This will require you to make a template, but don’t let that scare you away. As you’re about to find out, it’s a simple and straightforward process. Better yet, if you do it right you’re sure to get great results. The following article follows each step I followed in making a template for the world-famous 1980 KE55 Toyota FitMyCorolla. This also happened to be my first attempt at making a custom template, so if I can do it, anybody can!
The first step is to find some paper to use to form the shape of your template. Butcher’s paper is a great option, however not everyone will have a spare roll lying around so I used regular old newspaper. I made sure the paper was flat and creased up around the edges of the footwell. I also taped 2 pieces together for maximum coverage.
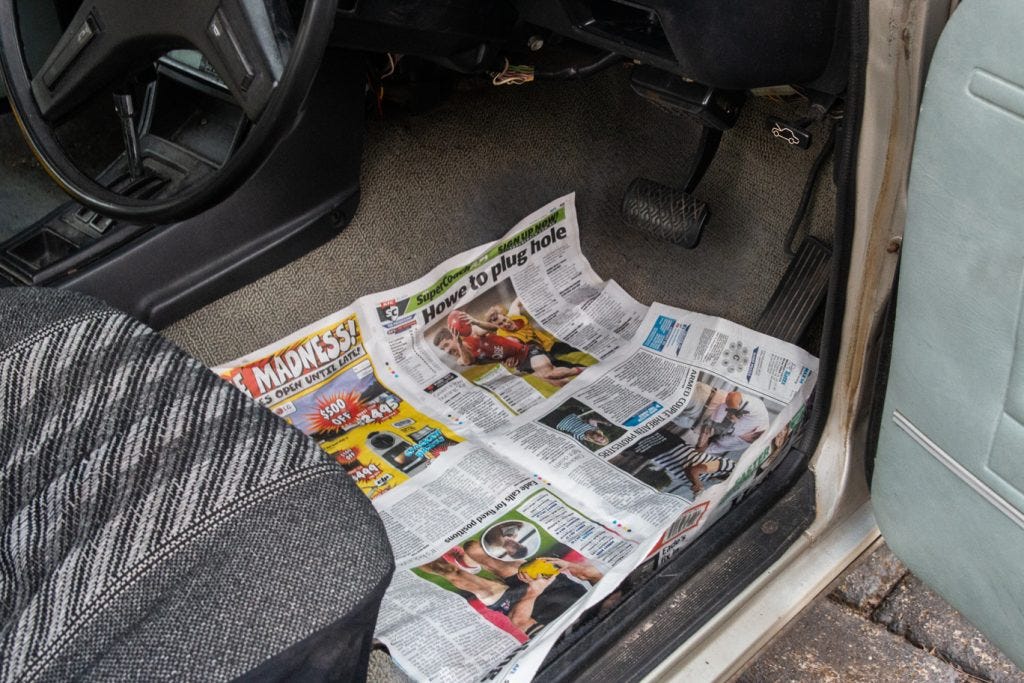
Once you’ve done this, grab a permanent marker and draw an outline around the edges of your footwell where you want your mat to go. This outline will form your mat template. Take your time and try to be as accurate as possible, but if the shape is a little wonky it’s not a huge concern and can be fixed in later stages. Keep in mind that our carpet is most effective on the flat areas of your floor. Don’t trace your outline up the sides of the footwell or too far behind the pedals.

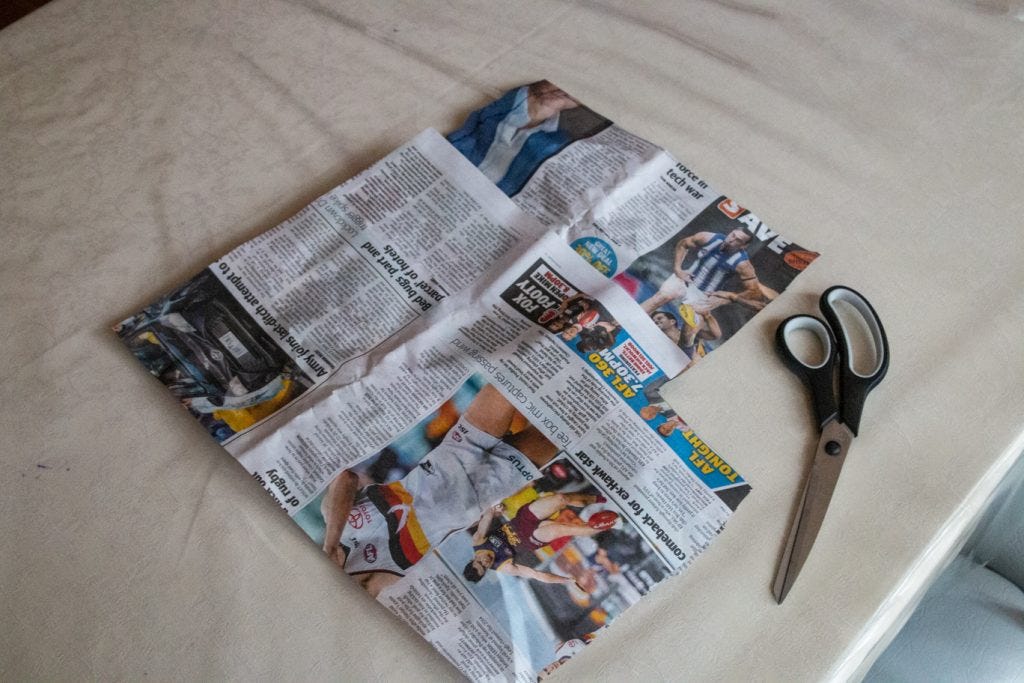
The next step is to remove the paper from your car and cut along the outline so your shape is fully cut-out. It’s best to go inside and work on a bench or table for the most accurate job possible. If your template is a little wonky, try to cut in a straight line to correct this.
Once you have your rough templates, place it on top of a large sheet of paper which you will use to trace the outline onto. Again, not everyone will have this readily available so I simply taped 6 pieces of generic A4 copy paper together. If you’re going to do this, ensure that you tape both sides and cover each connecting-gap of paper. This will give it maximum strength.
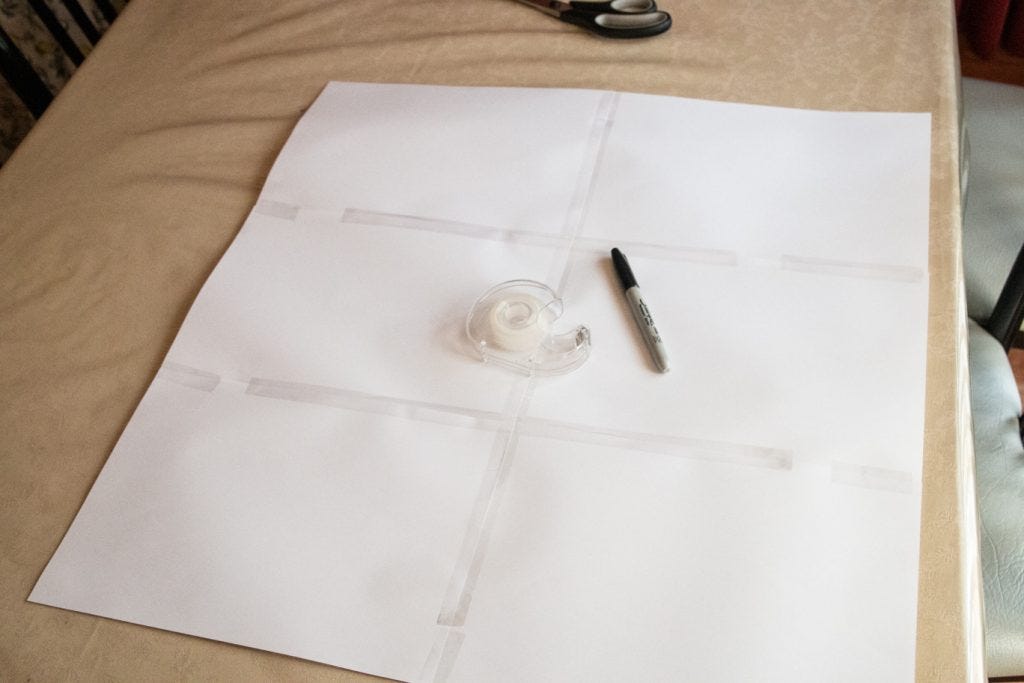
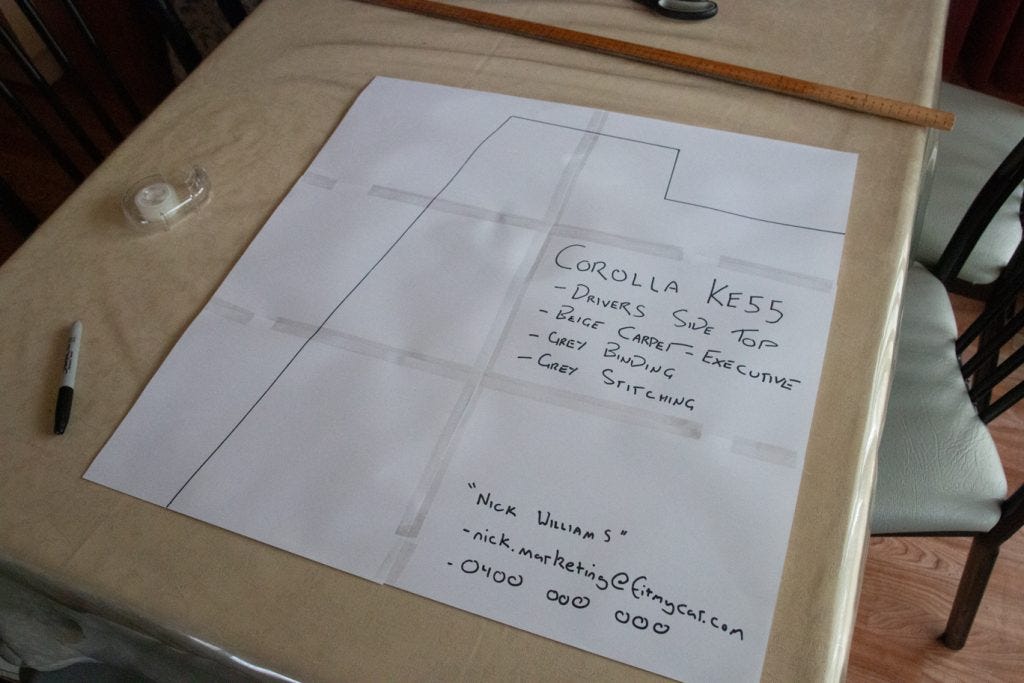
When you trace your outline onto the large sheet of paper, draw around the entire template. If yours is like mine however and a fairly simple square shape, try putting a mark where each corner goes, removing the template and simply “join-the-dots” with a ruler and marker on the white paper. This will ensure all your lines are straight. While the finished template has sharp edges, remember that our mats will all have curved edges so allow for that, and expect it is how the finished product will look.
Finally, write your personal details and the specifications you want your mats made to on the template. An accompanying email with the template that has these details is required, but writing them additionally on the template too is great to help avoid mix-ups. Make sure you also specify if the template is ‘driver’ or ‘passenger’ side, and that the template is face up and the carpet will be printed on this side.
Repeat this process for as many mats that you need for your car. We do not charge any extra for a custom set, so have a look at the colour/carpet grade combinations for a random car on our site and imagine they will be applied to your custom set.
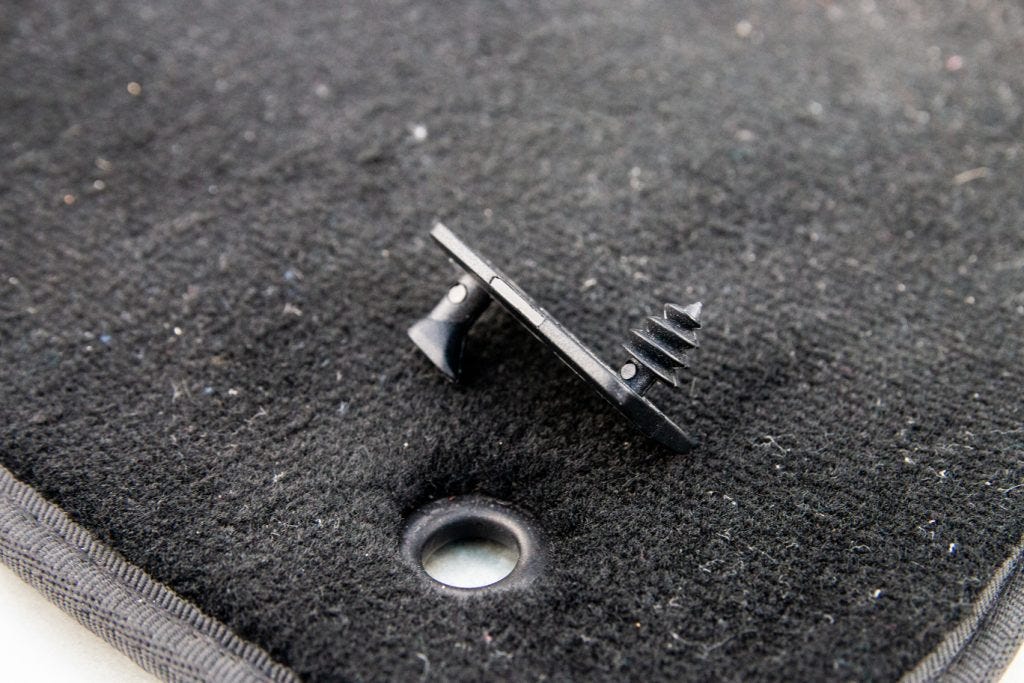
If you want your mats to be fixed to your floor, we can put eyelets in the mats and send them with screw-in clips they will attach to. Not everyone will want to do this as it means screwing the plastic clip into your car’s carpet. Personally I haven’t found it to be an issue in the past to drive with mats that aren’t screwed in so I chose not to get these made with eyelets. If you would like them however, simply draw 2 ‘X’s’ on each template where you want the eyelets to be placed. Typically they will be in the bottom corners of your mats.
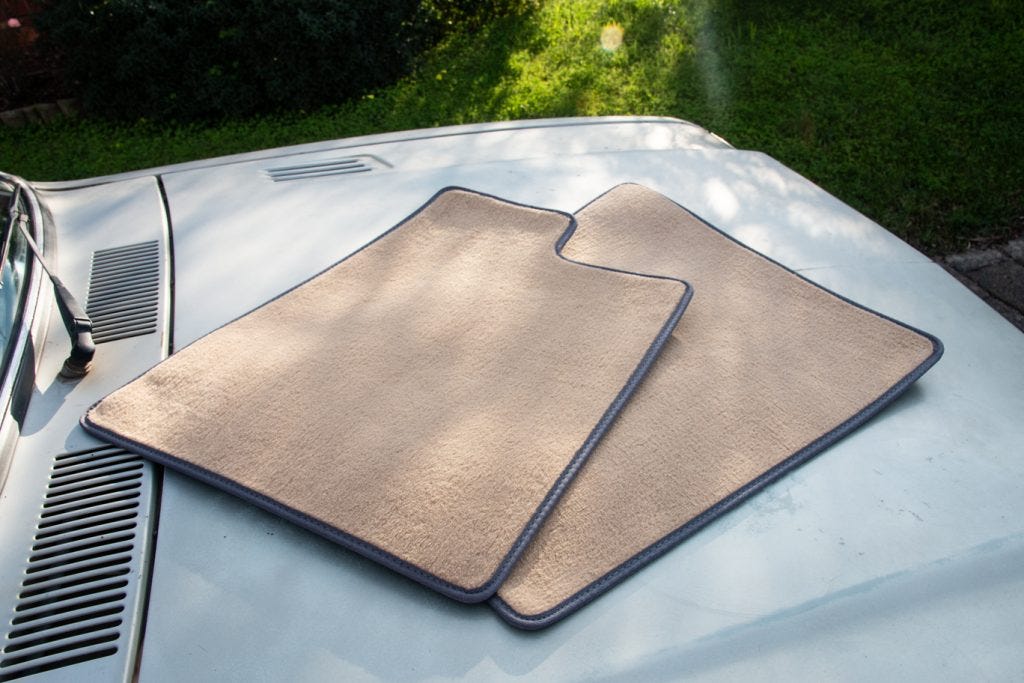
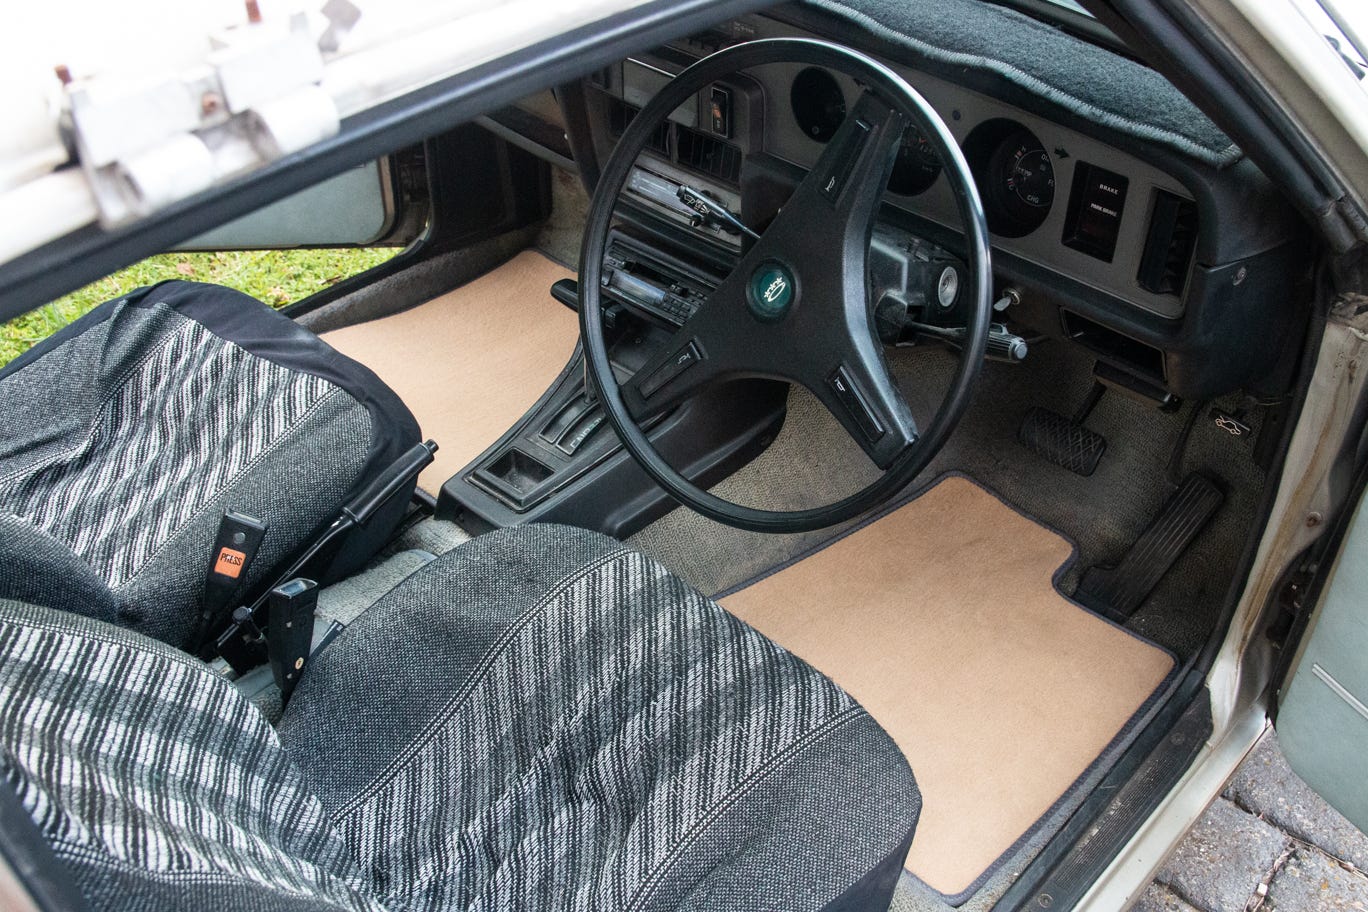
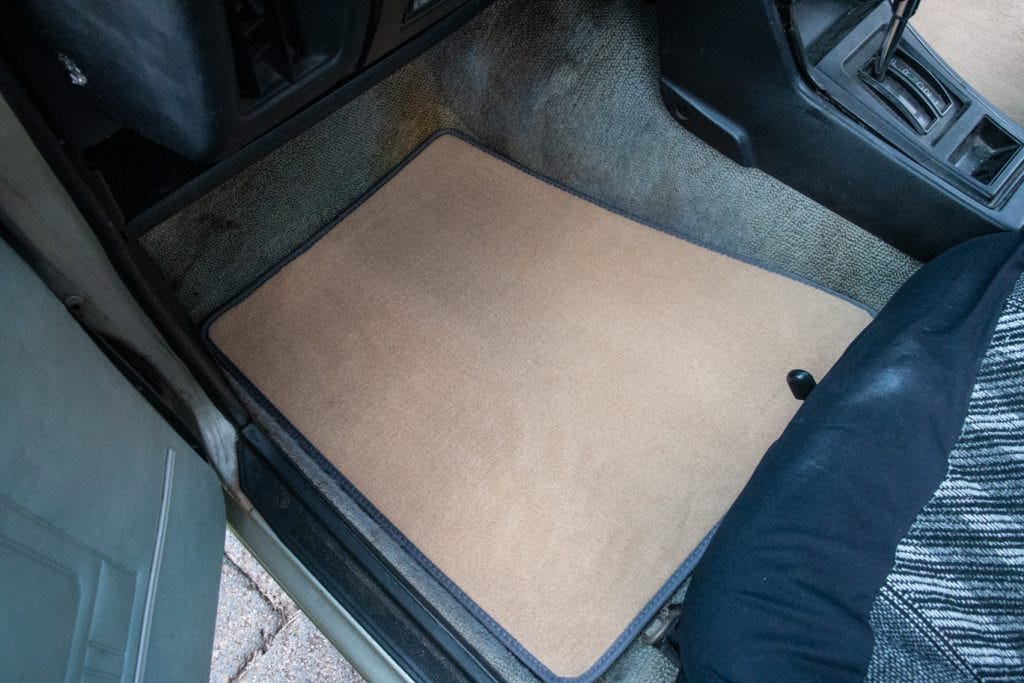
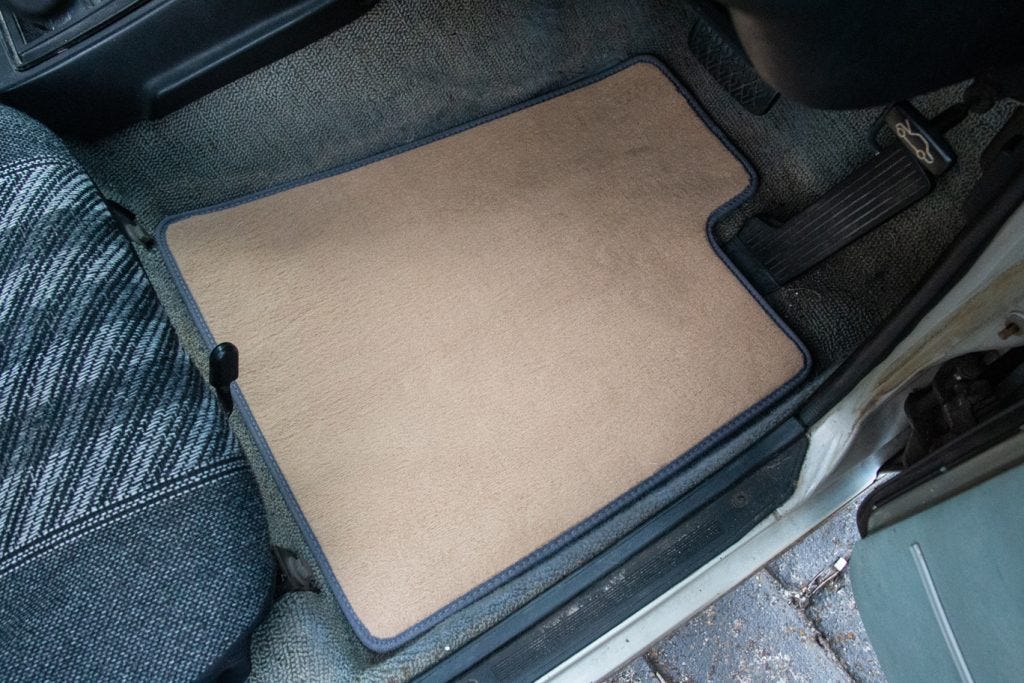
As you can see, the finished mats for the Ke55 look great. I chose a beige colour for some classic vibes and the fit is pretty-much perfect. It ended up being a pretty simple shape, but most older cars will be, making your job hopefully as easy as mine. If you’re interested in getting a custom set, give us a call on 1300 299 922 or email helpme@fitmycar.com to discuss options and any questions you may have with the process.